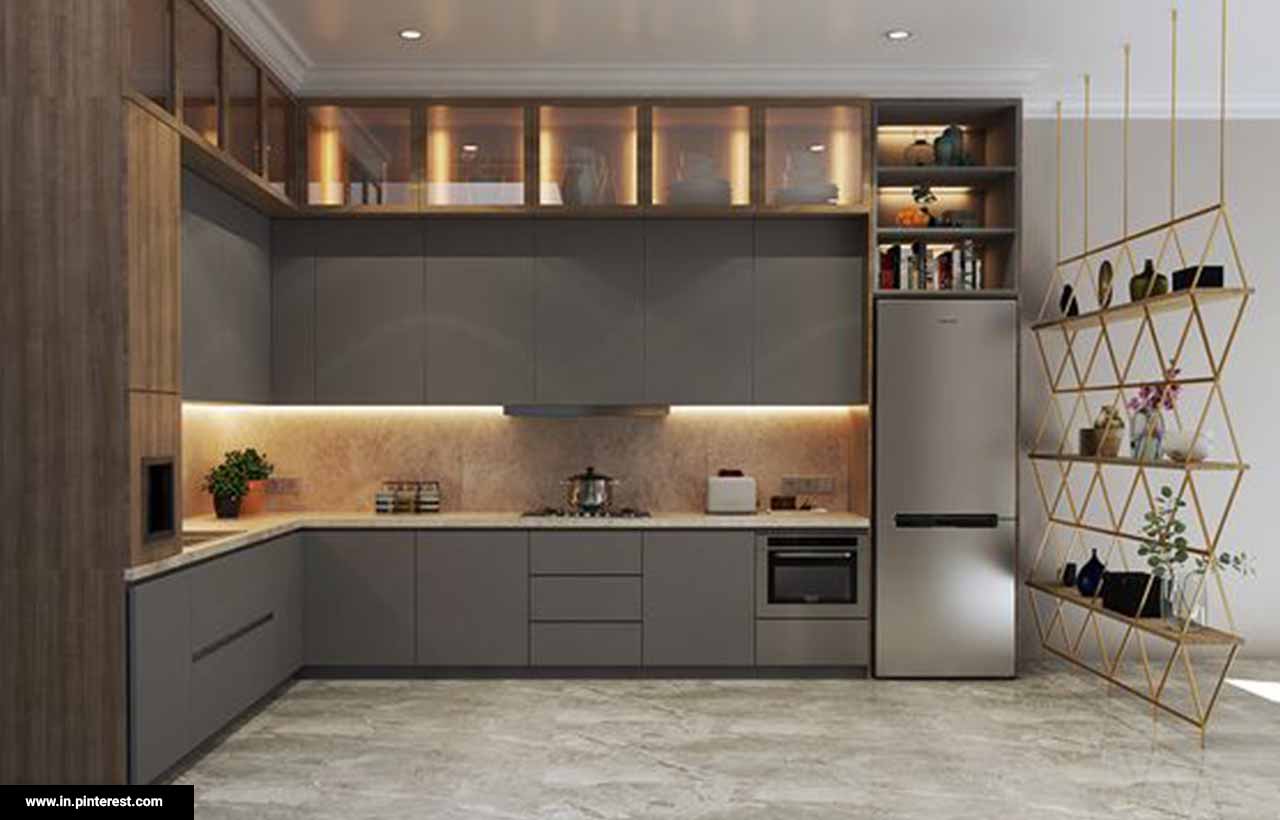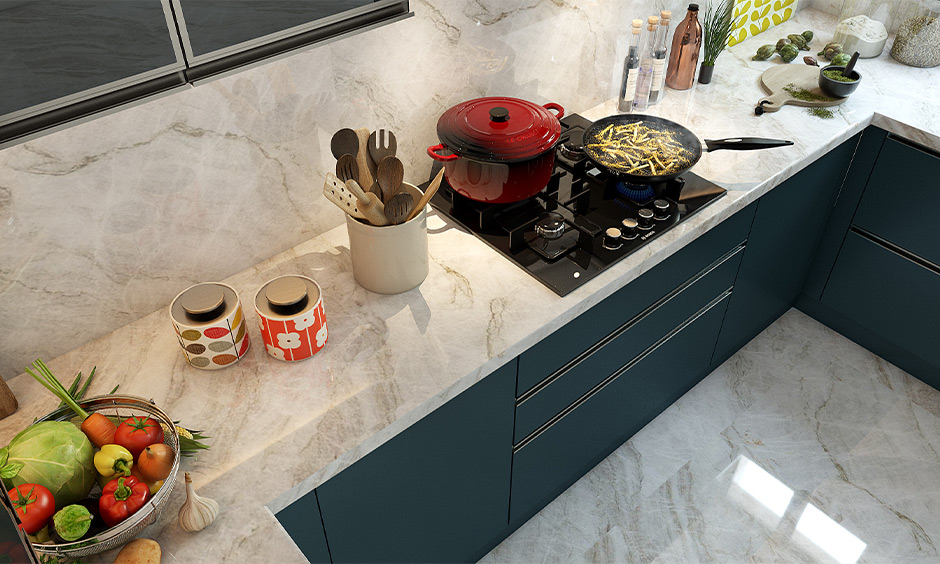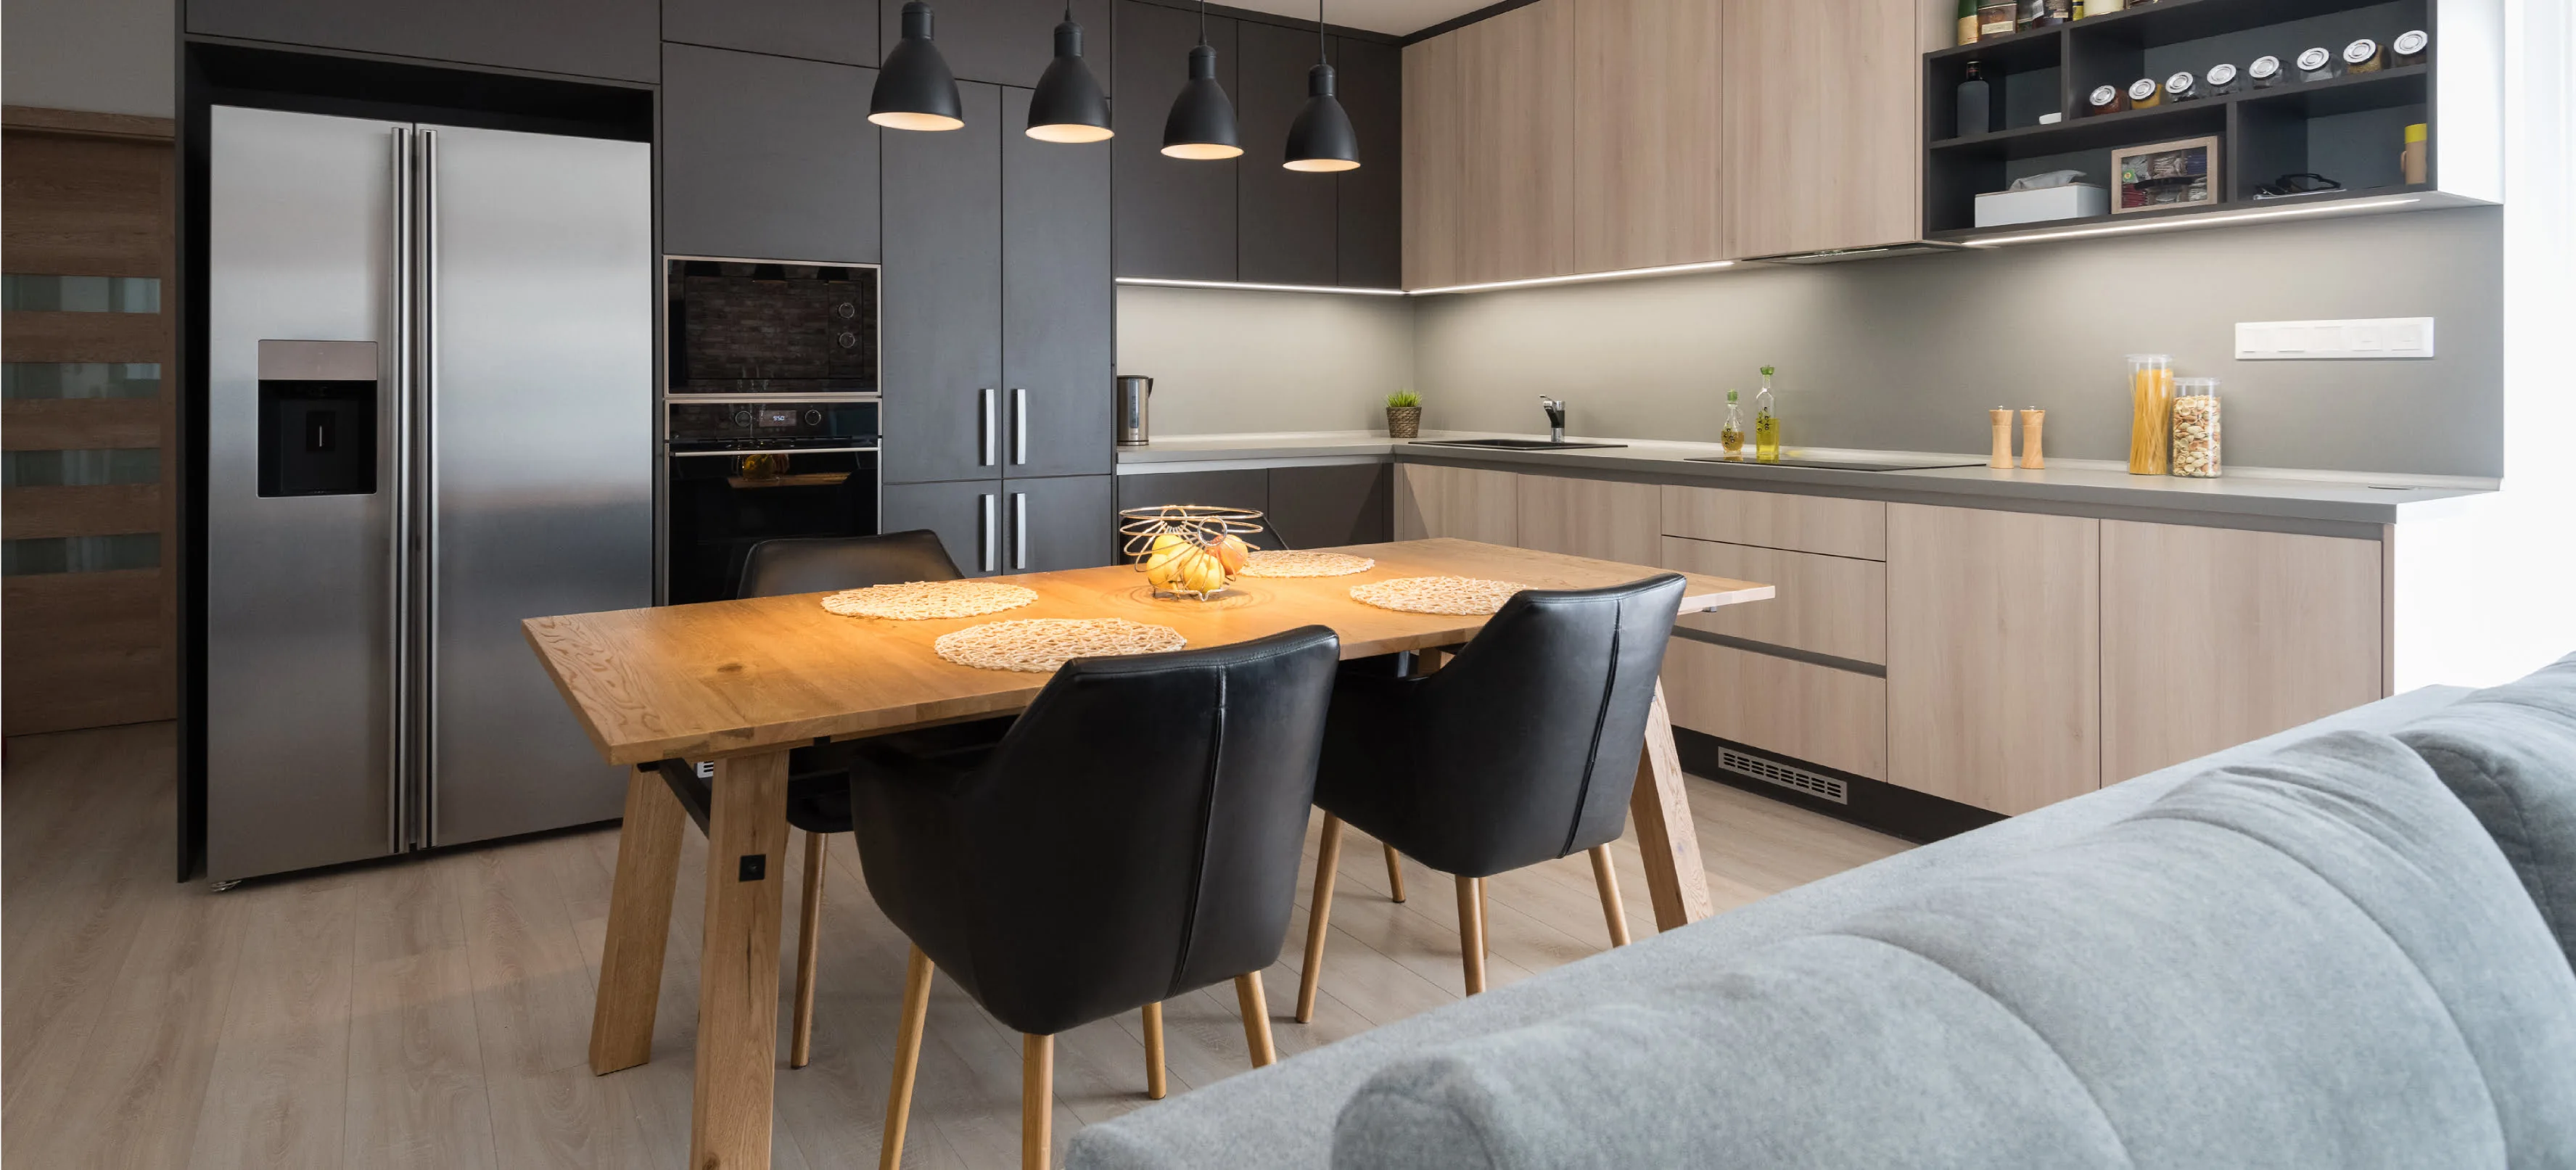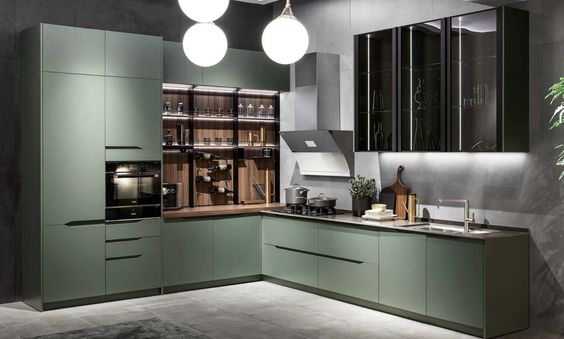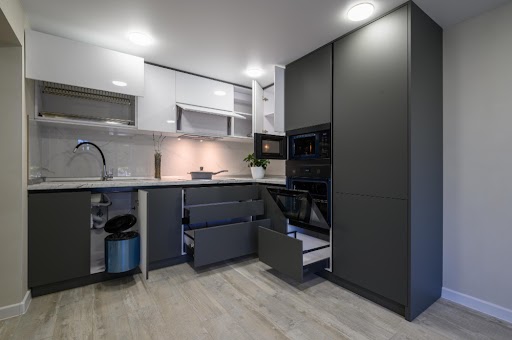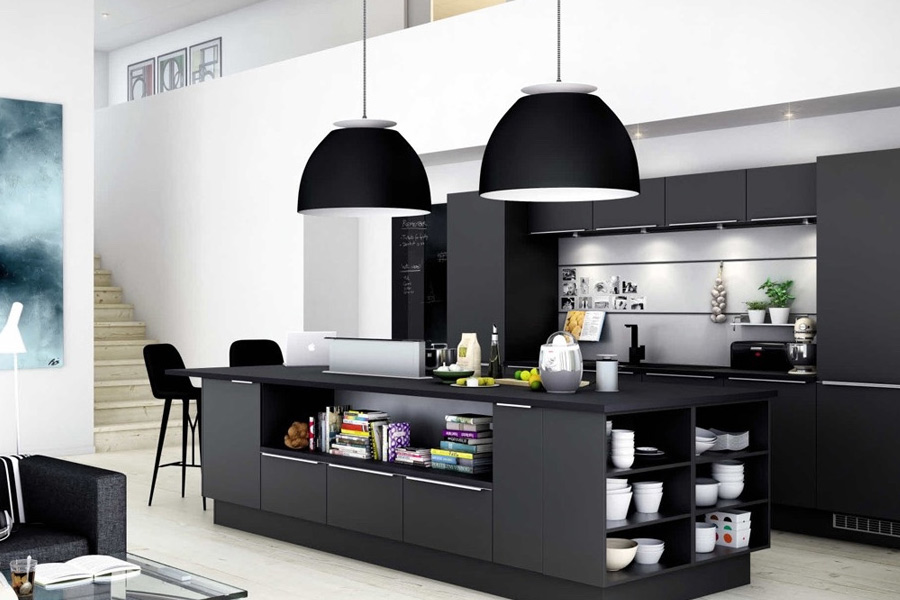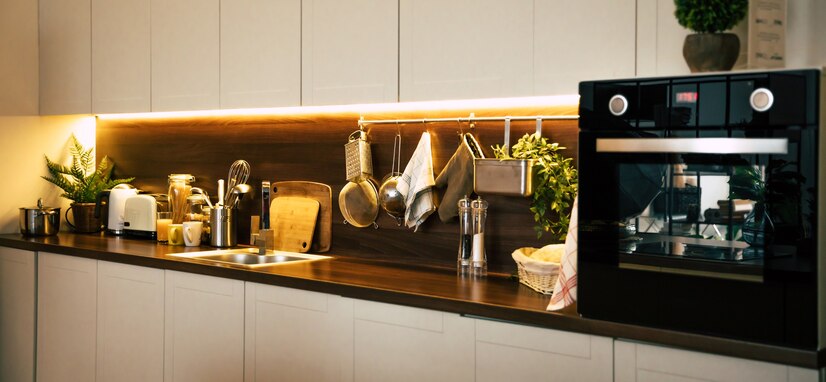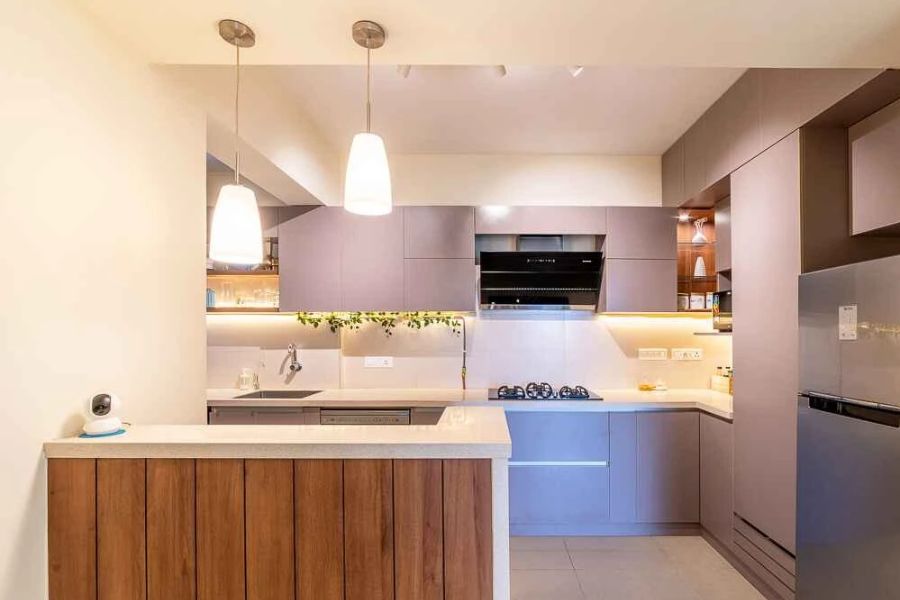
What Should You Check Before Accepting a Newly Installed Modular Kitchen?
Installation day feels like the finish line. The units are up, the shutters are on, and your kitchen finally looks like the 3D render you approved months ago. But this is also the one moment that matters most for the next ten years of daily use, because once you sign off, most problems become your problem to fix.
A modular kitchen is a mechanical system as much as it is a design statement: hinges, channels, joints, and load-bearing panels that get used dozens of times a day. A careful handover inspection now saves you the cost and hassle of retrofitting later.
Why the Handover Inspection Matters
Most modular kitchen issues aren't visible from across the room, they show up in how a drawer glides, how a shutter closes, or how an edge holds up to steam after a few months of use. That's exactly why they're easy to miss during a quick walkthrough and expensive to fix after you've moved in.
Once you sign the handover or completion certificate, you're typically confirming that the installation was delivered as agreed. Any misalignment, hardware fault, or finishing gap not flagged at this stage often falls outside the scope of a straightforward, no-cost fix later. A thorough, unhurried inspection before signing off isn't about distrust, it's simply the last chance to catch installation-stage issues while they're still the installer's responsibility to correct.
Here's exactly what to check before you accept delivery.
The Pre-Acceptance Checklist
1. Verify the Layout Matches Your Approved Design
Before anything else, walk the kitchen with your original 3D design and floor plan in hand.
- Confirm the layout (L-shaped, parallel, island, or Italian) matches what was approved
- Check that cabinet heights, widths, and the placement of tall units, base units, and wall units line up with the drawing
- Make sure appliance cutouts, for the hob, chimney, oven, microwave, and dishwasher, are positioned exactly where they were planned
- Verify the countertop height and depth suit your comfort, especially if you specified a custom working height
Any deviation here is far easier to flag on day one than after you've started using the kitchen.
2. Inspect Cabinet and Shutter Alignment
Run your eye and your hand along every shutter and cabinet edge.
- Shutters should sit flush, with even, consistent gaps between doors and drawers
- Check for warping, especially on taller shutters, by looking down the panel at an angle
- Open and close every door and drawer; they should move smoothly without sticking, rubbing, or misaligning
- Look at corner units and carousel units specifically, since these are the most common points of alignment error
Uneven gaps or shutters that don't sit flush usually point to installation error rather than a material defect, and they're straightforward to correct if caught immediately.
Read also:- Laminate vs Acrylic vs PU Kitchen Shutters: Which Finish Lasts Longest?
3. Check Hinges, Channels, and Hardware
Hardware quality determines how your kitchen feels five years from now, not just on day one.
- Test every hinge for soft-close action — the door should ease shut without slamming
- Pull out every drawer and channel fully to check smooth, silent operation and that it doesn't tilt or jam
- Check that heavy-duty accessories like pull-out baskets, bottle pull-outs, and tandem boxes move freely under load
- Confirm the number and placement of hinges match what was specified for larger or heavier shutters, since undersized hardware fails faster under daily stress
4. Examine Edge Banding and Finish Quality
Edge banding is where moisture, steam, and daily wear do the most damage over time, so it deserves close attention.
- Run a finger along every exposed edge — it should feel seamless, with no lifting, bubbling, or visible glue lines
- Pay special attention to edges near the sink, hob, and dishwasher, where moisture exposure is highest
- Check the finish (matte, glossy, laminate, or acrylic) for scratches, dents, or colour inconsistency across panels
- Look at the back panels and undersides of cabinets too — quality shouldn't stop at what's visible
Poor edge sealing is one of the most common causes of long-term panel damage, particularly in humid or heavy-use kitchens.
5. Confirm Countertop and Sink Installation
- Check that the countertop is level using a spirit level, particularly across joints if it's been installed in sections
- Inspect the sink cutout for clean edges and a proper seal with no gaps for water seepage
- Run the tap and check drainage, water pressure, and for leaks under the sink
- Confirm the countertop material matches your order, thickness, finish, and edge profile included
6. Test All Electrical and Plumbing Points
A kitchen has more utility points than almost any other room in the house, so this step deserves patience.
- Check that every socket is wired, positioned correctly, and works, especially those behind appliances
- Confirm chimney ducting is properly connected and vents outside, not just into the cavity above
- Test under-cabinet lighting, profile lighting, and any other electrical fittings included in the design
- Check gas line connections for the hob and ensure shut-off valves are accessible
7. Check Loft, Tall Unit, and Storage Functionality
- Open every loft and tall unit shutter to confirm smooth operation, especially lift-up or bi-fold mechanisms
- Check internal shelving, tray units, and dividers are installed as specified and sit level
- Test any pull-down or pull-out systems in tall units for smooth, controlled movement
- Confirm sufficient clearance so doors and drawers don't collide with adjacent units or walls when open
8. Review Documentation Before You Sign Off
- Ask for your warranty document in writing, and confirm exactly what it covers, structural integrity, hardware, or both, and for how long
- Request the final material and hardware specification sheet, so you have a record of what was actually installed against what was quoted
- Note down the after-sales service contact and process for raising a complaint
- Only sign the handover or completion certificate once every point above has been checked; a signature typically closes the window for raising installation-stage issues
The Novella Approach: Fewer Surprises at Handover
The best way to have an easy handover is to reduce the chances of something going wrong before installation even begins. At Novella Kitchens, every kitchen goes through laser-measured site mapping, precision manufacturing on German Homag and Altendorf CNC machinery, and a mandatory 50-point quality check on our factory floor, before it ever reaches your home. Our units are built with high-density, boiling waterproof (BWP) materials designed for NCR's climate and heavy daily use, and every installation is backed by a 10-year structural warranty along with a full year of complimentary after-sales maintenance.
A thorough handover checklist is simply the last checkpoint in a process where quality has already been built in at every earlier stage.
Conclusion
A modular kitchen represents a significant investment, and the day it's installed is your last real opportunity to catch issues before they become part of your daily routine. Going through the layout, hardware, finishes, utilities, and documentation methodically, rather than a quick once-over, protects that investment for years to come.
The good news is that a careful handover shouldn't reveal major surprises if the manufacturing process was rigorous to begin with. That's the philosophy behind how Novella Kitchens builds every project: precision manufacturing, strict quality checks, and durable materials chosen for real daily use, so that your handover inspection is a formality rather than a negotiation.
Frequently Asked Questions
Q1. How long should a kitchen handover inspection take?
For an average-sized kitchen, plan for 45 minutes to an hour of unhurried inspection. Larger layouts with islands, tall units, and multiple appliances may take longer. Avoid rushing this step just to free up the installation team, it's worth scheduling a dedicated time slot rather than doing it in passing.
Q2. What if I find an issue after I've already signed the handover certificate?
Contact your installer immediately with photos and a clear description of the issue. Genuine manufacturing defects are usually still covered under your structural or hardware warranty even post-handover, but installation-related issues like alignment or fitting gaps become harder to claim once the certificate is signed, which is exactly why the pre-signing inspection matters.
Q3. Should I inspect the kitchen empty or after appliances are fitted?
Ideally both. Inspect the empty cabinetry first for structural and alignment issues, then re-check after appliances, sink fittings, and countertop accessories are installed, since these can reveal fitment or clearance issues that weren't visible earlier.
Q4. Do I need a professional to inspect the kitchen with me?
Not necessarily. Most of the checks alignment, hinge action, edge banding, drawer movement can be done visually and by hand. If you're unsure about plumbing or electrical connections specifically, it's reasonable to have a plumber or electrician do a quick independent check before sign-off.
Q5. What documents should I have in hand before accepting the kitchen?
Keep your final approved design, the material and hardware specification sheet, and the payment or order confirmation handy. Cross-checking the physical kitchen against these documents is the fastest way to catch any deviation from what you actually ordered.
Planning a new modular kitchen or getting ready for handover? Get in touch with Novella Kitchens for a site visit, or calculate your kitchen budget to start planning.